You can start streaming with less gear than you’d think. Here’s the minimum setup, and the order in which upgrades actually make a difference.
Streaming is one of the special setups covered in our complete guide to building a gaming setup.
The minimum setup
- Your gaming PC. A GPU with a hardware encoder does the heavy lifting.
- OBS Studio. It’s free and the standard tool for streaming to Twitch, YouTube and others.
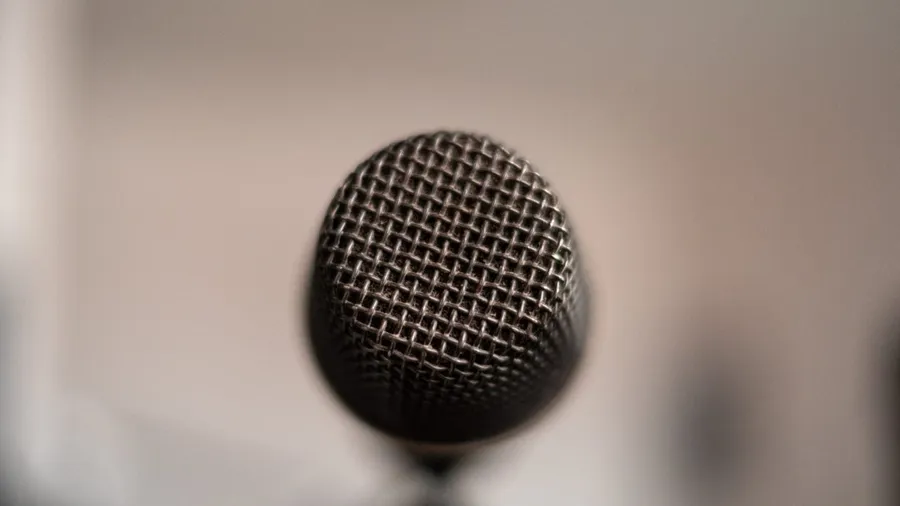
- Any decent microphone. A headset mic works to start.
- A stable upload connection, wired if possible.
A webcam is optional. Plenty of successful streams don’t have one.
Basic OBS setup
- Run Tools → Auto-Configuration Wizard and choose “Optimize for streaming.”
- Under Settings → Output, select your GPU’s hardware encoder (NVENC, AMF or Quick Sync) rather than x264, so your CPU stays free for the game.
- Start at 1080p/60fps at about 6000 Kbps, or 720p/60 if your upload is limited. Check your platform’s current recommended bitrates.
- Add sources: Game Capture, your microphone, and Desktop Audio.
- Record a short test and watch it back before you go live.
Upgrade order that matters most
- Audio first. Viewers will put up with average video, but not bad audio. A dedicated mic on a boom arm, plus noise suppression in OBS, is the biggest single upgrade.
- Lighting, if you use a camera. A soft light in front of your face improves any webcam.
- A webcam or camera.
- A second monitor for chat and OBS, so you’re not alt-tabbing mid-game.
- A stream deck or hotkeys to switch scenes and mute smoothly.
Final checklist before going live
- Microphone levels peak in the yellow, not the red.
- Game audio is quieter than your voice.
- Notifications and personal info are hidden from captured windows.