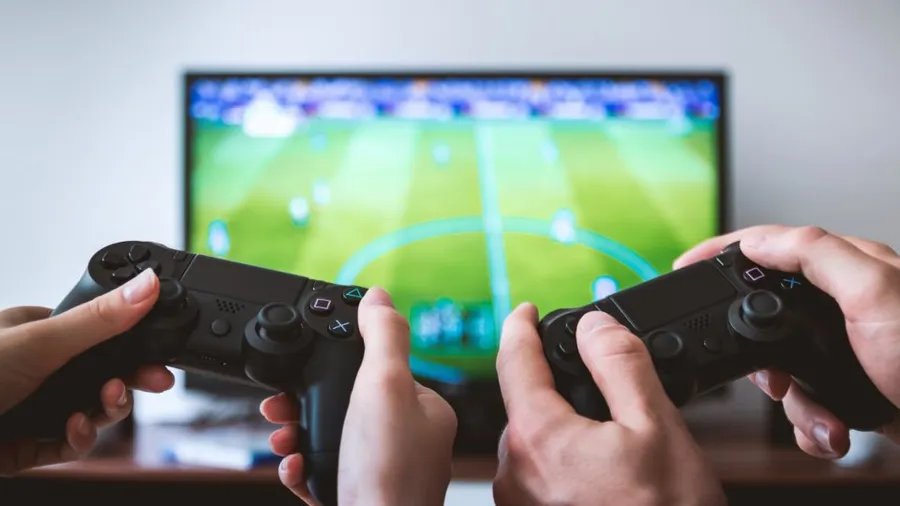
Big-screen PC gaming is great for controller games, racing and co-op. Getting a good result mostly comes down to the right cable and a few TV settings.
TV gaming is one of the display options in our guide to setting up for gaming at home.
Step 1: Use the right cable and port
- Connect straight from the graphics card’s HDMI port to the TV, not from the motherboard.
- For 4K at 120Hz, you need an HDMI 2.1 port on both the GPU and the TV, plus a certified Ultra High Speed HDMI cable.
- Many TVs have only one or two HDMI 2.1 ports. They’re usually labeled “4K@120” or similar.
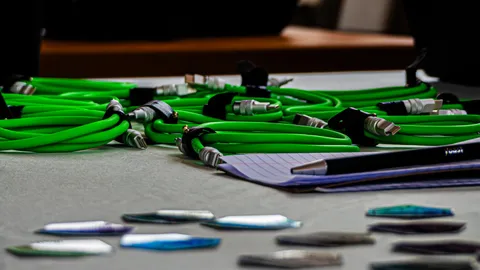
- For long runs from another room, look at active optical HDMI cables. Regular passive cables can drop signal over long distances.
Step 2: TV settings
- Turn on Game Mode, or ALLM (auto low latency mode), which does it automatically.
- Turn on the port’s enhanced/full-bandwidth HDMI setting (the name varies by brand). Without it, the TV may not accept 4K at 120Hz or HDR.
- Turn on VRR or FreeSync / G-Sync Compatible if the TV supports it, for tear-free gameplay.
- Turn off motion smoothing and extra “enhancement” processing.
Step 3: Windows settings
- In Display settings, set the TV’s resolution to its native resolution (usually 4K), and set scale to around 200–300% so desktop text is readable from the couch.
- In Advanced display, set the refresh rate to 120Hz if available.
- Turn on HDR only if your TV handles it well. Some budget “HDR” TVs look better in SDR.
Step 4: Couch-friendly controls
- Steam Big Picture mode gives you a controller-friendly launcher.
- A wireless controller covers most games. For the rest, a lap keyboard or a small wireless keyboard with a touchpad works.
- If the PC is in another room, in-home streaming (Steam Link, Moonlight) over a wired network is an alternative to a long cable.